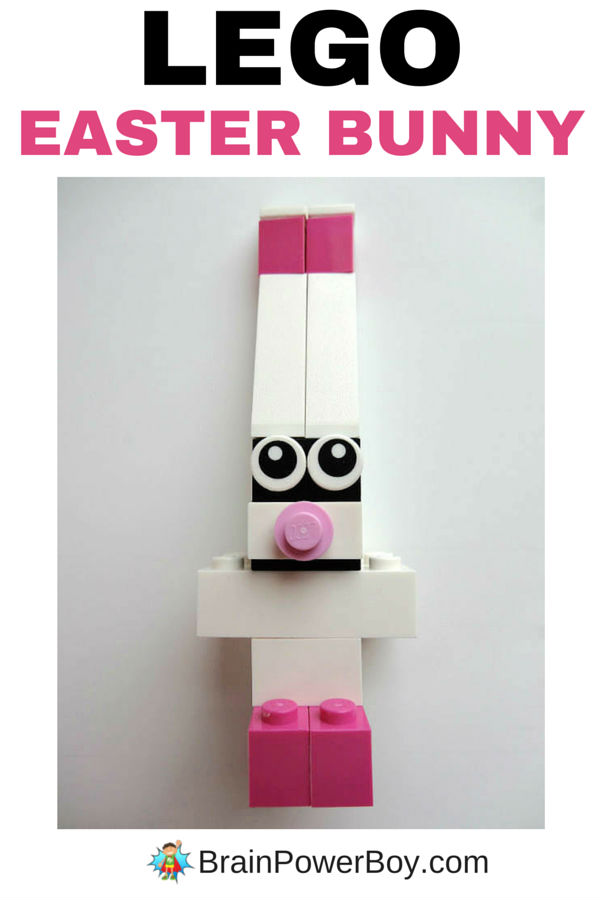
The third LEGO creation in our Easter series is, of course, a LEGO Easter Bunny. You can’t do Easter without the bunny!
He is a character, isn’t he? With those l o n g ears and cute little pink nose. It was fun to create and we are excited to share the building instructions with you.
See more of our Easter LEGO Designs here.

This post may contain affiliate links which means we may receive a small commission, at no cost to you, if you make a purchase through a link. All opinions are our own and we share things we think would be of interest to boys.
LEGO Easter Bunny
Our LEGO Easter animal series was designed to be easy to make, cute, and maybe a little bit funny. Kids can make these!
Before I give you the instructions remember, if you don’t have the exact pieces I show here, mix it up a bit. One totally awesome thing about LEGO is how versatile it is. Encourage your kids to be creative!
The Easter bunny has the most pieces of our three LEGO Easter designs. But don’t worry because I took photos and am giving you building instructions as well.
Plus as an added bonus we made a video which you can see here.
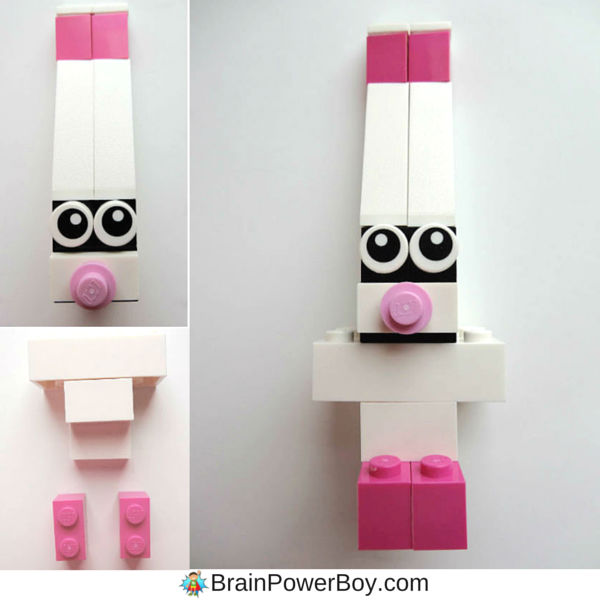
The LEGO Easter bunny is 9 bricks and 1 roof tile high.
You will need bright pink, white and black bricks, 2 eyes, and a little pink one stud for the nose.
Starting from the bottom:
- Feet: two 1×2 bright pink bricks with one 1×2 white on top and 2 1×2 bricks behind. See the image for details.
- Body: one 2×4 white brick


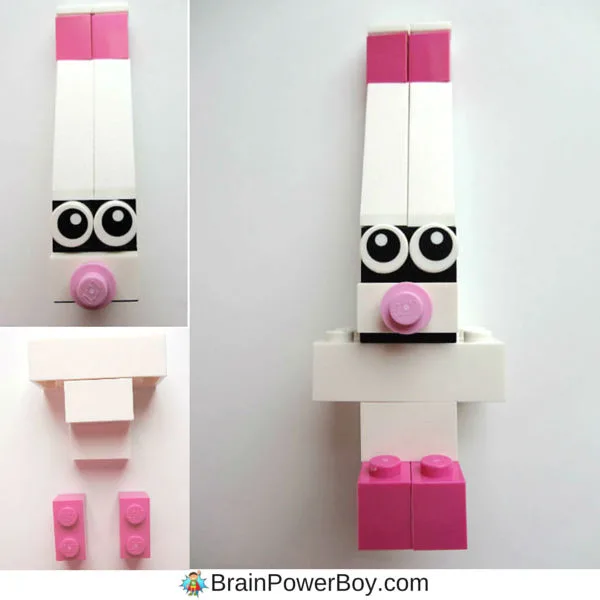
Remember when I spoke of not having exact pieces and getting creative? Well, that is what we did for the head. I took close-up photos so you could see how we constructed the head. I will do my best to describe it as well.
- Head: one 1×2 stud out black brick with a 1×2 plate with 1 knob in white on top. The one stud pink nose is added to the white plate. Two 1×1 black w/studs on one side go on top of the other black brick. The eyes are then added. Our 1×2 studs out brick had studs on both sides so we added a white 1×2 brick sticking out the back. Then another white 1×2 on top of that. Not the perfect solution, but it worked!
- Ears: two 1x2x3/73° in white, two dark pink 1×1 bricks and two white 1x1x 2/3 roof tiles.
Isn’t this a fun LEGO project? If you liked our LEGO Easter Bunny, be sure to check out our chick and duck as well! Links to all of the directions are here.
If you are looking for other Easter bunny ideas hop on over (sorry, couldn’t resist a little bunny humor there) to my friend Clare’s site for ten Easter Bunny Crafts for Kids to Make.