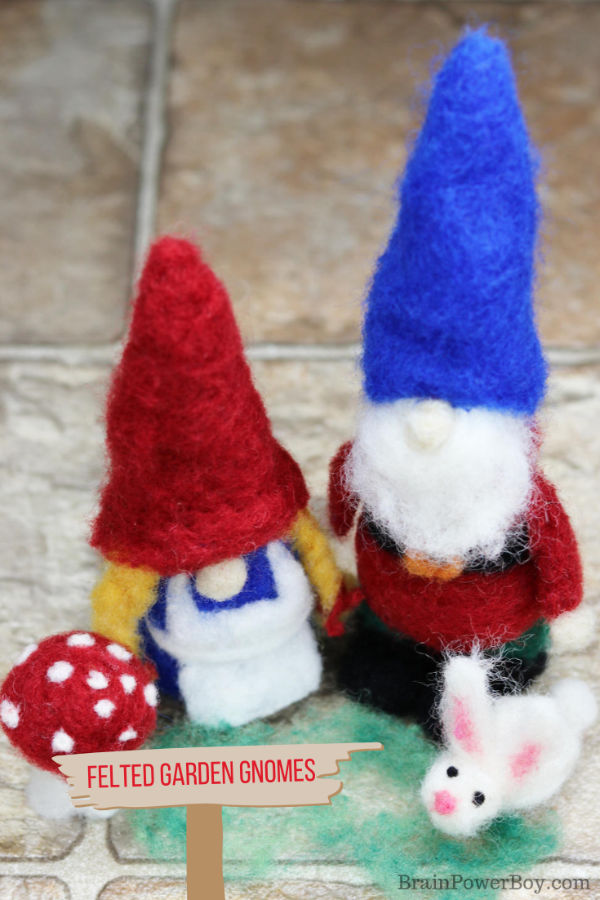
If you love gnomes (and who doesn’t?!) you are going to love making this DIY needle felted gnome project.
I have been needle felting for many years now and it is one of my favorite crafts. I have made a lot of gifts for people and also some decorations for our home.
If you are new to needle felting let me just say that it is an easy craft to pick up. There are very few supplies you need so it is economical. I like that it is portable as well which means I can take it with me when I am on the go.
I hope you enjoy making this wool gnome as much as I did! If you have any questions, feel free to leave a comment below.
This post may contain affiliate links which means I may receive a small amount, at no cost to you, if you make a purchase through a link. All opinions are my own and I share things I think would be of interest to boys.
A few safety notes: This project is not for young kids.
Felting needles are very sharp and have barbs on them. I’ve stuck my fingers multiple times and I can tell you that it hurts – a lot!
If you are a beginner, I suggest you go slow and be sure to keep your fingers far away from the needles. You may want to use an awl or one of these to hold the wool while you felt. Make sure you don’t hit any metal with the needle or it is sure to break.
When felting you will want to jab the wool in a methodical up and down motion. Don’t pull to the side when your needle is in the foam board or in your mat or it will break. The needles are fragile.
I usually stick my needles into my foam board to make sure I know where they are at all times. Now on to the DIY!
DIY Needle Felted Gnome
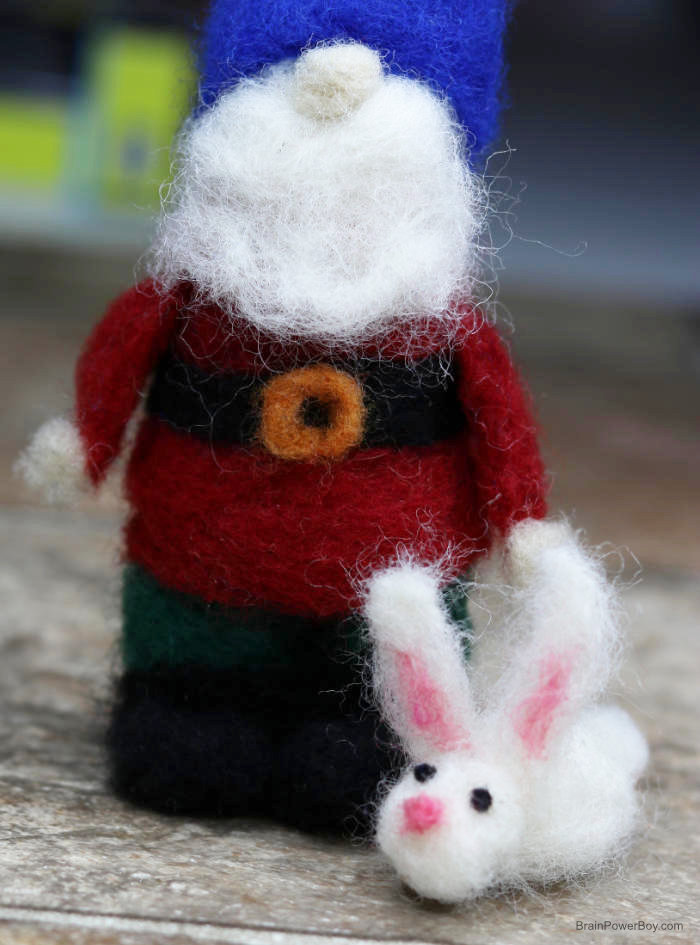
Needle Felted Gnome
This needle felted project is for making a gnome and a bunny. Both are pretty easy to make and we have included detailed instructions as well as a video tutorial for you to follow.
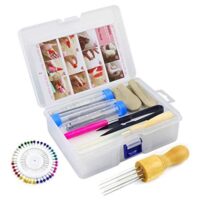
Materials
- Wool roving in blue, green, black, gold, red, white, pink, cream
Tools
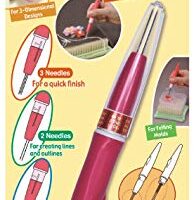
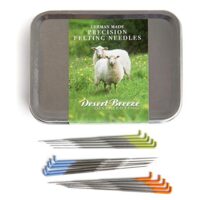
- Felting Needles, Clover and 35 gauge star point
- The star point was used for assembling the pieces together.
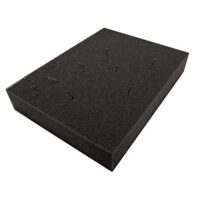
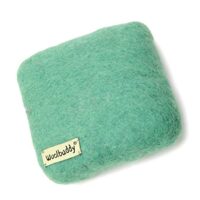
- Foam felting block (or the block of your choice)
Instructions
Tools and Supplies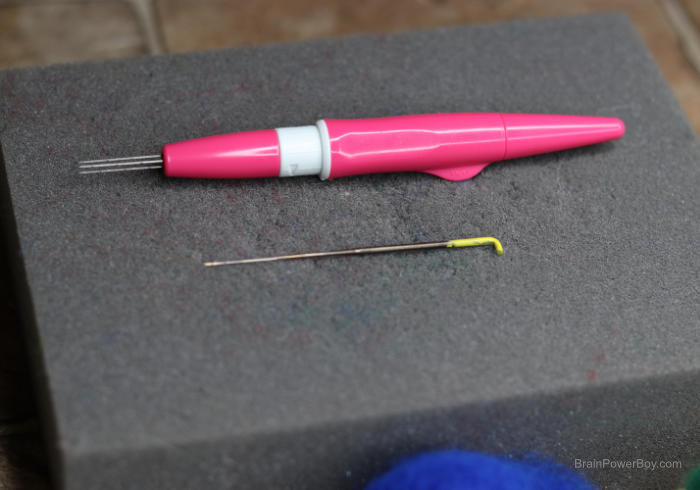

- Gather your tools and supplies.
Making The Gnome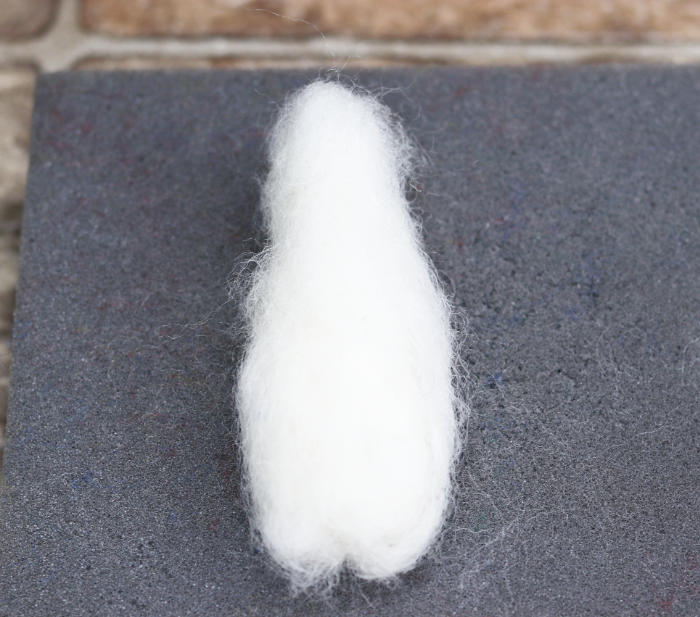

- Start by making a cone out of scrap or lower quality wool and jab it with your felting needles until you have a shape you are happy with and it is fairly firm.
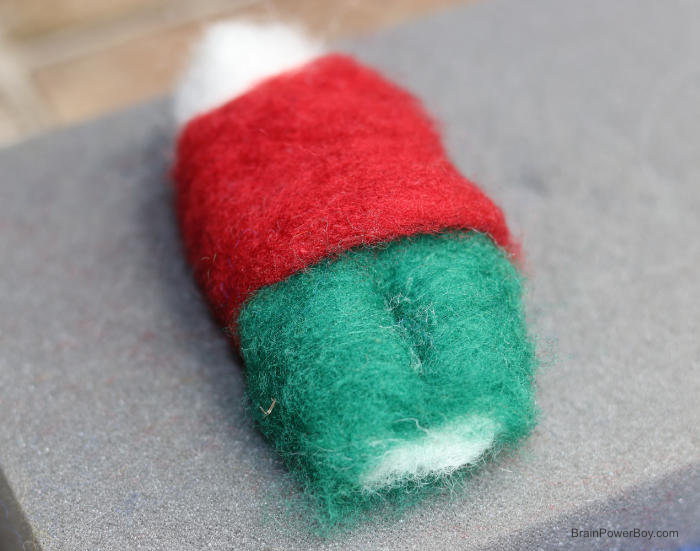

- Lightly felt two rectangles. One red and one green.
Add green and red wool in strips to the cone. Felt them to the cone but do so rather loosely so as not to bring a lot of white up into the green and red.
Don't attach the very bottom of the gnomes shirt to the cone. You want it to hang loose a bit.
Felt down the center of the green to create a crease so it looks like he is wearing pants.

- Felt a rectangle of blue wool. Then make it into an open cone. This will be the gnome's hat. Make sure it is nice and tall!
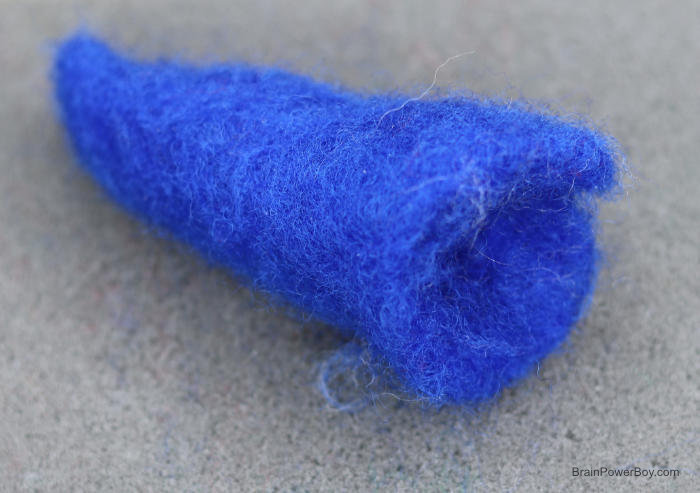

- It should look like this when it is done. I left a small gap in the back to make it easier to put it on him.
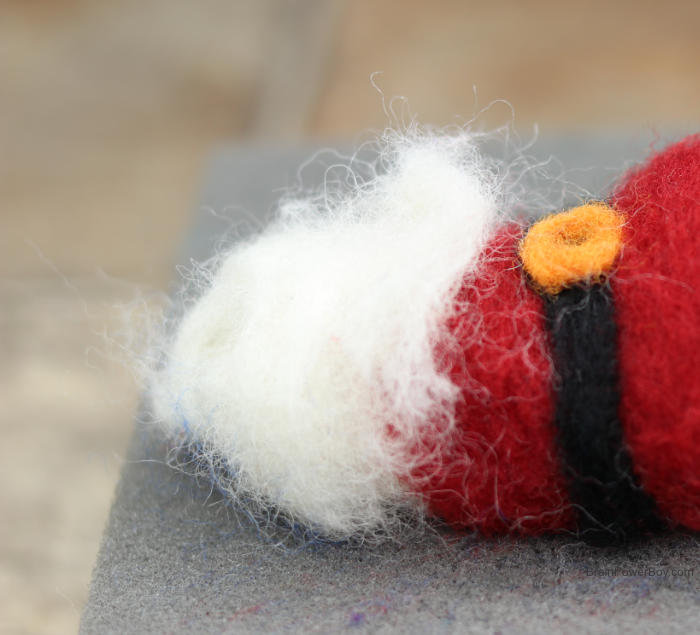

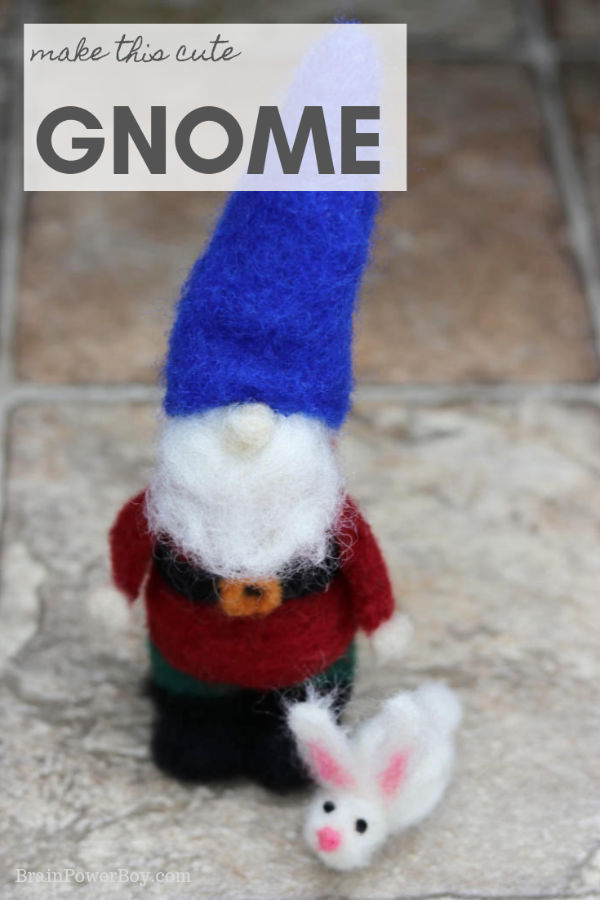
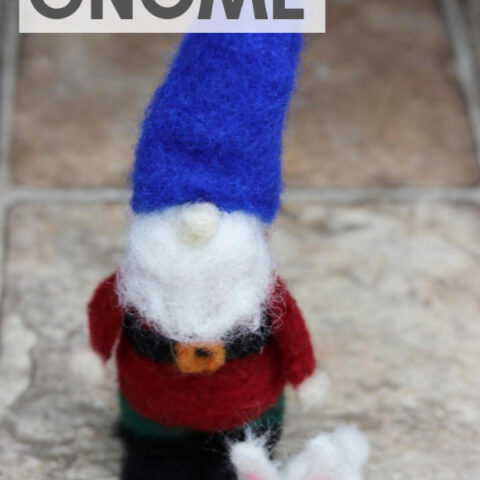
- Next you will add some white wool in the shape of a beard. See the video for additional details. You add this right on top of the white cone you made earlier.
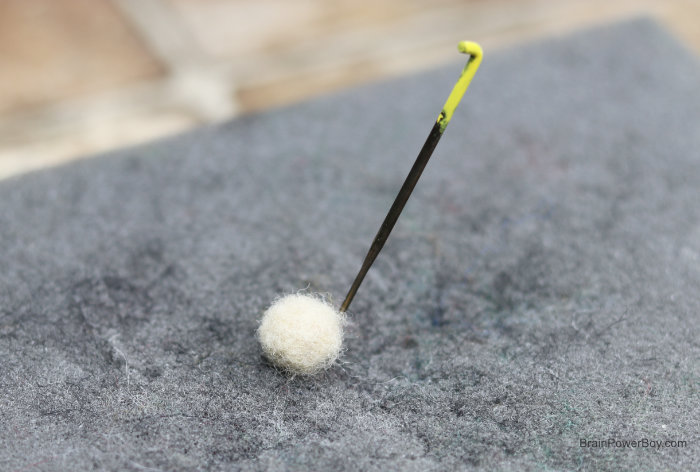

- Make a small nose out of cream colored wool. Felt it very tightly. Attach it to the gnome.
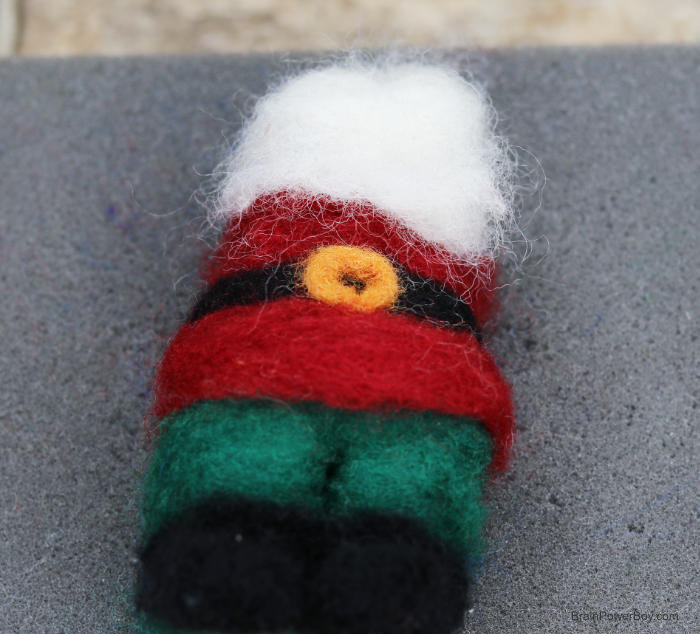

- Make a strip of black and attach it as a belt. Use gold to make a buckle.
Attach two balls of black wool as boots and put a strip of black above each ball so they look like a boot. See video.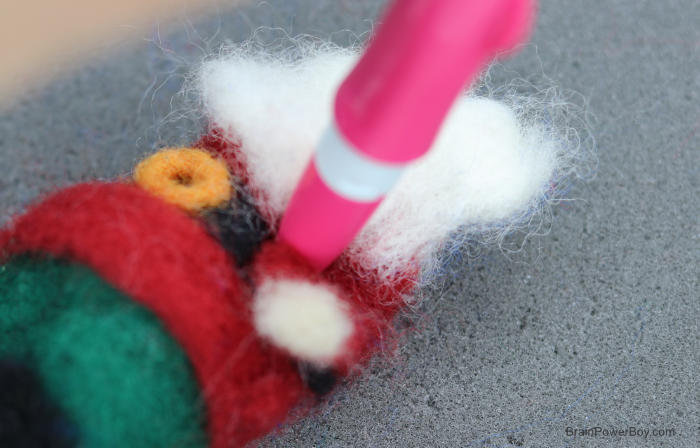

- Using red, make two felted tubes for arms. Attach a small cream colored hand on each one. You can make a hand shape or a ball like I did.
Attach to body at top of arm. Do not felt arm all of the way down but leave loose so they extend from the body.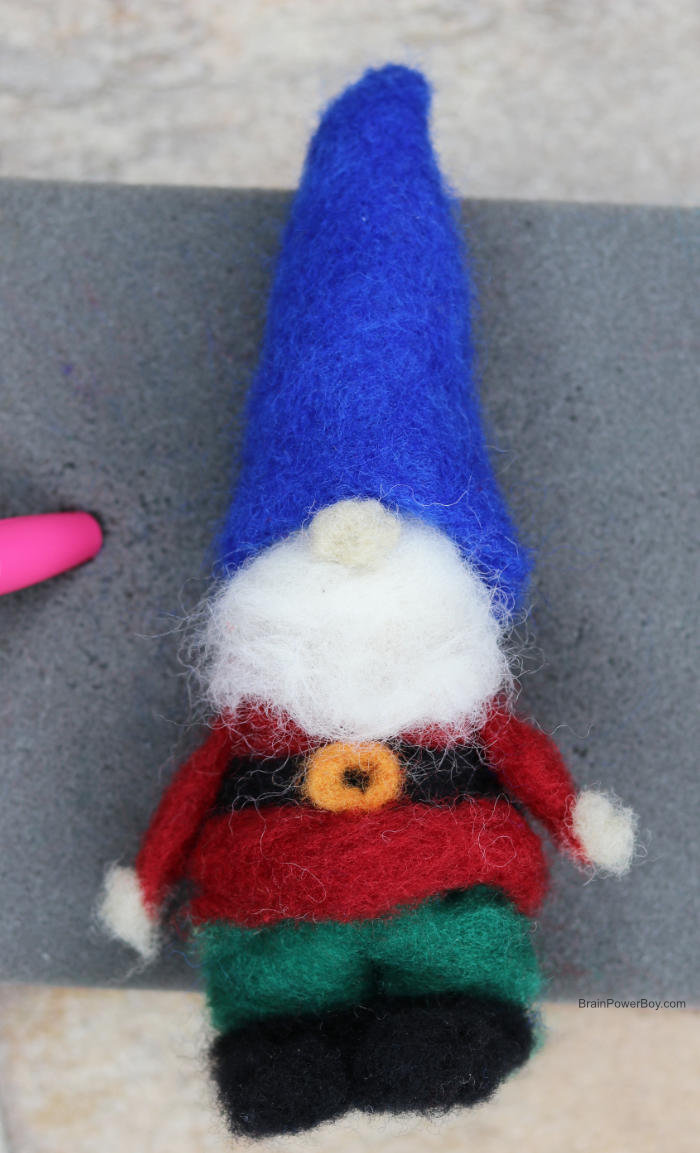

- Put the hat on and snug it down to his nose. Felt it in place.
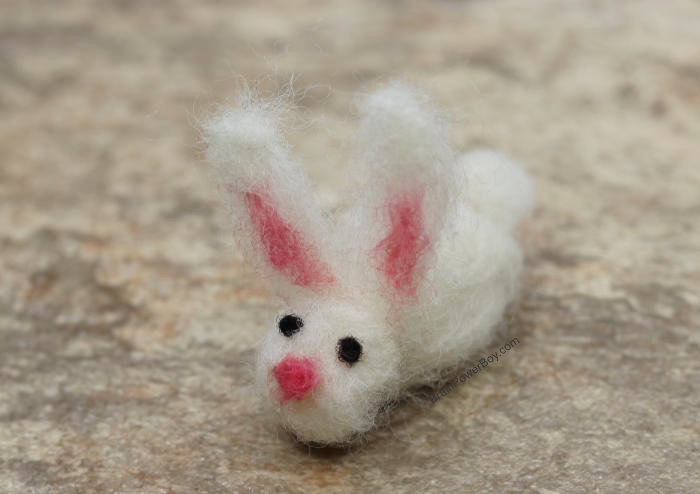

- Make a little bunny following the picture or see the video for a tutorial.

- See the above picture for felting details.
- Go back over the project and pull any pieces of wool that are sticking up. Tidy up your project and make sure it is all holding together well.
Notes
We have included a video tutorial as watching is sometimes easier when it comes to making a felting project.

Be sure to check out our Gnome Needle Felting video over on YouTube for a tutorial of how to needle felt and assemble your gnome.
I hope you enjoy making this needle felted gnome! He is cute, isn’t he?
Be sure to hop over to my guest post on Ruffles and Rain Boots to get information on making the gnome girl and her little mushroom. They make a lovely couple!