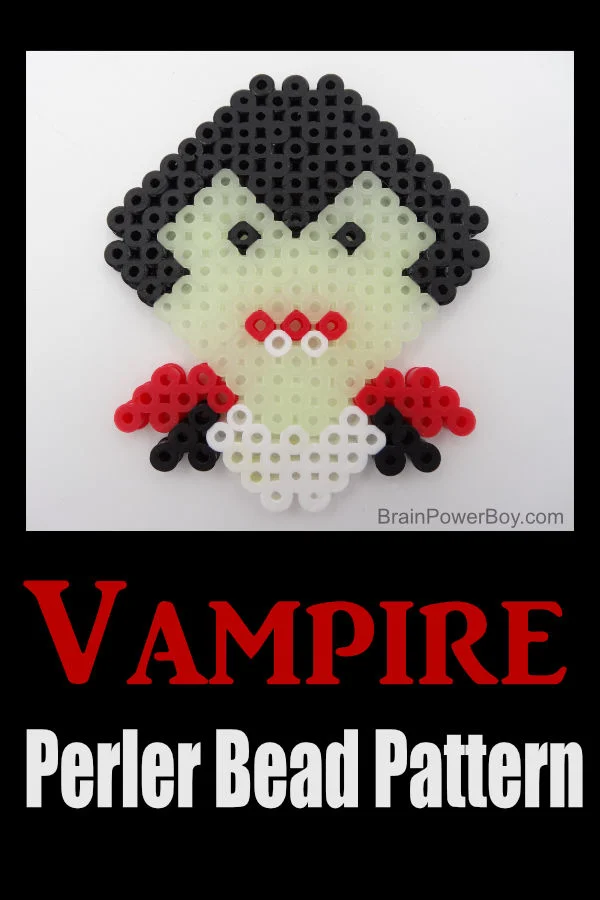
Want to make a vampire? We have just the pattern for you!
This fun Vampire Perler Bead Pattern is easy to make!
It is easy to make and yet, has a cool style. We even added glow in the dark beads for a spooky surprise.
Scroll down for the supplies you need, the pictures and the instructions for making your little Dracula today.
See all of our Perler Bead patterns here.
This post may contain affiliate links which means I may receive a small amount, at no cost to you, if you make a purchase through a link. All opinions are my own and I share things I think would be of interest to boys.
Vampire Perler Bead Pattern
Perler Bead Supplies:
- Perler Beads in glow-in-the-dark light green, and in black, red and white
- Large square Perler board
- Perler Ironing Paper or parchment paper
- an iron
For this project we used glow in the dark beads for the face. You can get them in two ways.
- You can purchase separate packages of glow in the dark beads.
- You can purchase a bin of various colors of glow in the dark beads.
Note: I always buy Perler brand as I feel they work the best, are uniform in size, melt the easiest, and give you the best finished product . They are pretty awesome!
- Visit our Perler Bead Supplies Guide to see the Perler Bead supplies you need to keep on hand for when inspiration strikes, as well as things that you will want to get.
Below I will give you some basic instructions for making this project. Please use the images for reference as well.
Kids (and visually-oriented adults) find it easier to look at the picture than to read the directions but I am adding instructions in case you need them.
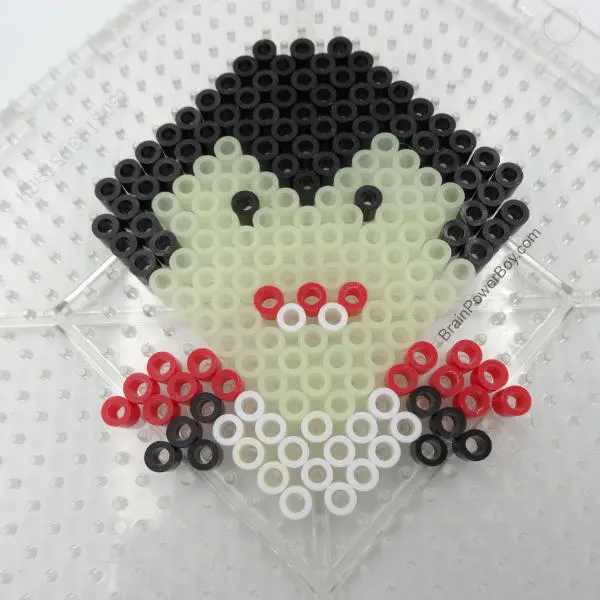
Vampire Perler Bead Pattern
This was made on a square pegboard and I had the board tipped on its side so it was triangular at the top.
1. The vampire is 11 beads wide at its widest point,and it is 13 beads tall.
2. I used black for the hair eyes and lapel. I used red for the mouth and cape and white for the fangs and shirt. I decided to use glow in the dark bead from the small package shown above for the face.
3. To start place 3 beads with a space in between toward the top of your square pegboard.
4. Then increase one black bead per line until you get to line 6 which has 8 beads across.
5. Then fill in the beads following the images shown.
6. When you get down to the cape and shirt area I find it easiest to do one side at a time. The simply repeat that pattern on the other side.
Now you have your vampire design completed! Fun and easy, right?!
Iron it and put something down on it to keep it flat.
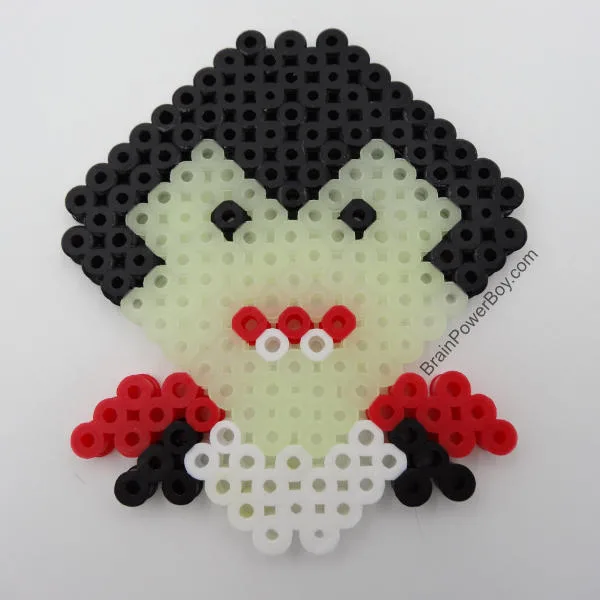
Glow in the Dark!
As I mentioned earlier this vampire is made with glow in the dark beads for the face. The beads look like this in the dark.
However, if you activate the beads under light they show up even more and glow and eerie green. The image below is not activated but was just sitting in regular room light.
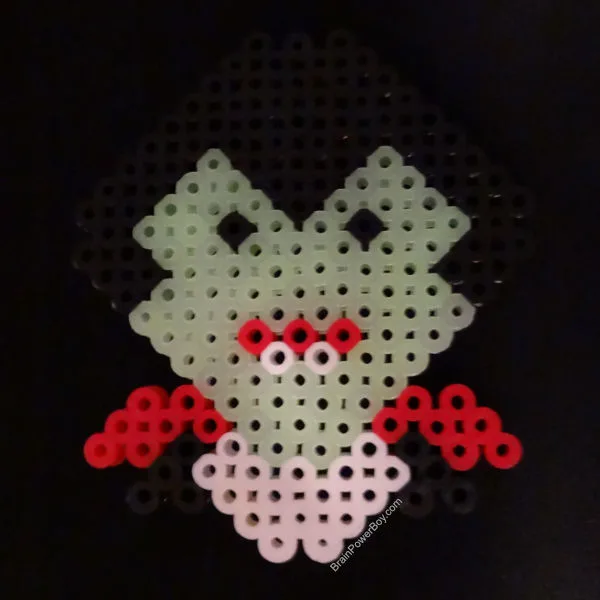
Activating Glow in the Dark Perler Beads
It is easy to get glow in the dark Perler beads to work. Simply put them in a strong light for a while and they will glow when in the dark.
If the glow doesn’t last very long you can try putting them under a brighter light such as an LED light. That is what I do.
The glow doesn’t last as long as a glow stick or anything but it is still neat to add these beads in to give your project that spooky look.
The image below is activated and you can see what it looks like when you put it under strong light! Cool, right?!
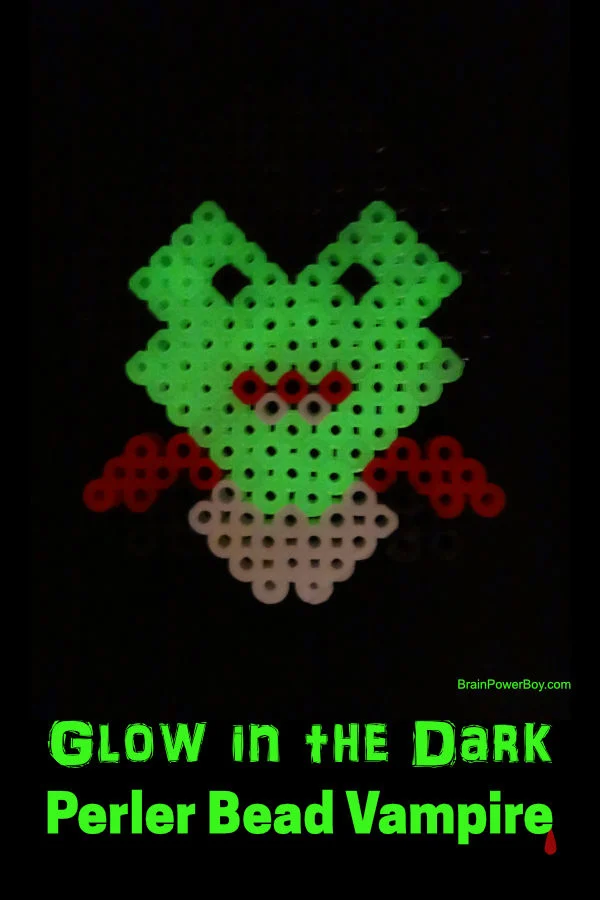
Conclusion
I hope you enjoyed our vampire bead pattern. I’m rather hooked on designing with these beads and plan to have more designs for you soon.
See all of our Perler Bead Patterns for more fun ideas.
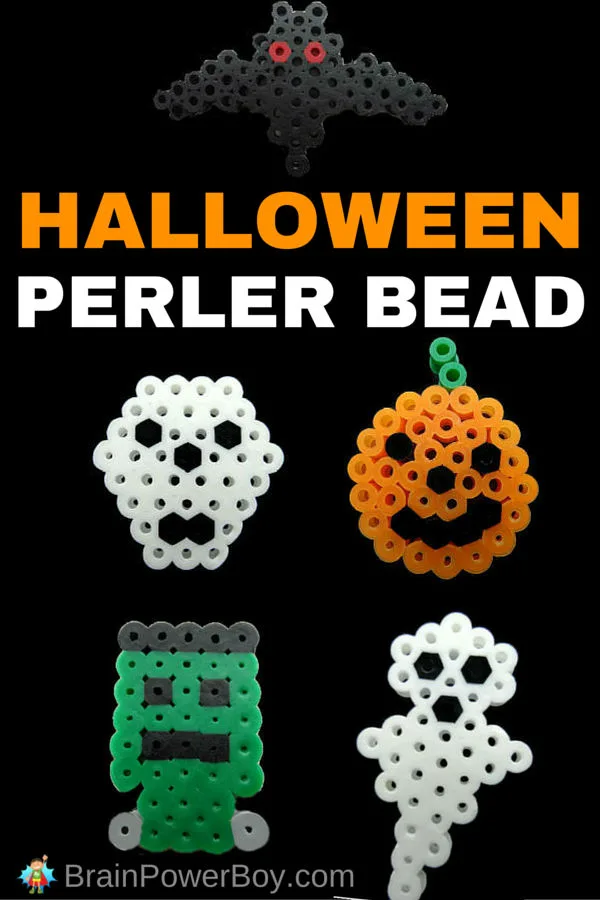
And don’t miss our other Halloween Perler Bead Pattern or our spiderweb and spider!


